How to set up a domain name and website in four easy-to-follow, quick and affordable steps.
Follow the steps in this short guide to discover how you can purchase a domain name and a web host. You will also learn how to link your chosen domain with the web hosting computer than stores your web pages.
What you will learn:
- How to set up a domain name.
- How to create a web hosting account.
- How to connect your domain name to your web host.
- How to transfer files between your computer and your web host.
Overview
On your mobile phone, you probably have a list of contacts with whom you communicate regularly. For each contact, you can add an easy-to-remember textual name (for example, Mary Smith) and link it with telephone number (for example, 088 123 45678).
In a similar way, behind every web address or domain (such as example.com) is the numeric IP (Internet Protocol) address (such as 216.3.128.12) of the actual webserver computer that hosts the files of the website.
Internet-connected computers - called DNS servers or nameservers - 'translate' domain names into IP addresses. To create a website with its own domain, you need to perform three actions:
- Buy a domain name.
- Buy website hosting on a webserver.
- Connect your domain name with your web host.
Domain names: Choose private registration
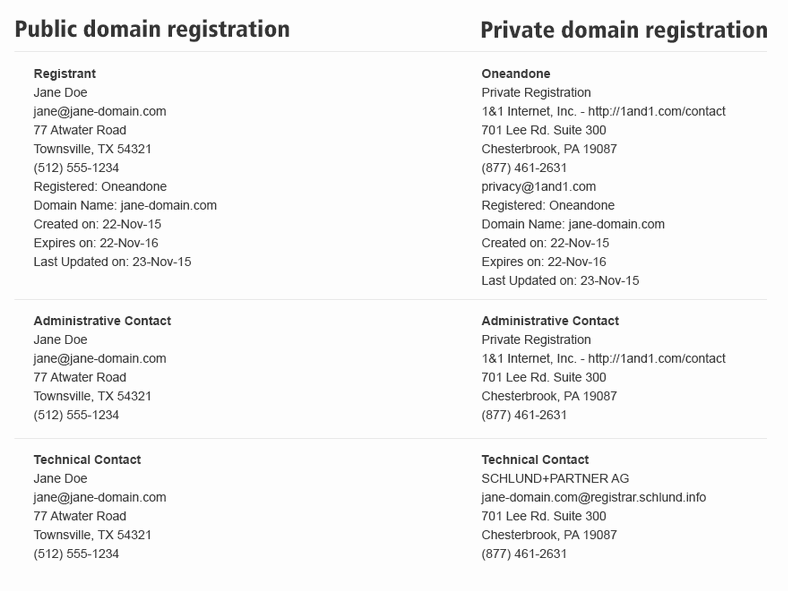
Under Internet rules, every domain name must be associated with a real-world name and address. The online system that records the owners of domain names is known as WHOIS.
Domain name providers typically offer a private registration feature by which the name and address stored for a purchased domain is that of the provider - and not the personal name and address of the domain buyer. As a domain name customer, this helps to protect your privacy.
Web hosting: Choose SSL
The older and insecure web protocol of http:// is increasingly being replaced by the newer, more secure https:// protocol. As you may guess, the 's' stands for secure.
This new https:// protocol is based on what is called a Secure Socket Layer (SSL) that requires the website (not the domain name) use an SSL Certificate.
Since 2018, the Google Chrome web browser warns users that websites still using http:// may be insecure.

When choosing a website hosting provider, ensure your provider offers an SSL Certificate as part of its web hosting services.
1: How to choose and buy a domain name
There are lots of providers from whom you can buy a domain name. As an example, visit the following website:
Next, in the search box displayed by the website, enter the domain name you would like to own. For example:

Typically, you will want the version of your chosen domain that ends in .com. If that is already taken, try a variation of the domain name.
Even if the .com version is not already taken by someone else, you might still prefer to use a non-.com version. Here are some examples:
- .design
- .dev
- .art
- .store
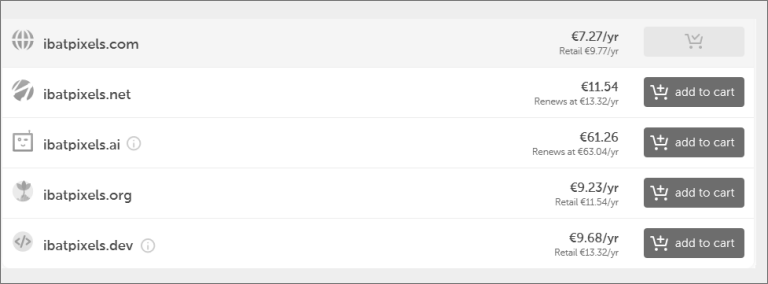
Your choice will depend on the purpose of your website and the type of visitors you want to attract to it. Some versions (for example, .com) will usually be more expensive than others (such as .net or .org).
Purchasing your domain
After choosing a domain name you would like to own, follow the provider’s steps to purchase the domain. You will be asked to enter your contact details and choose a password, and you will receive a confirmation email from your domain name provider.
Using your email and password, you will be able to sign in to the website of your domain name provider, and ‘link’ your domain name with the IP address or nameserver provided by your chosen web hosting provider. You will do that in step 3 below.
2: How to obtain a webserver to host your website
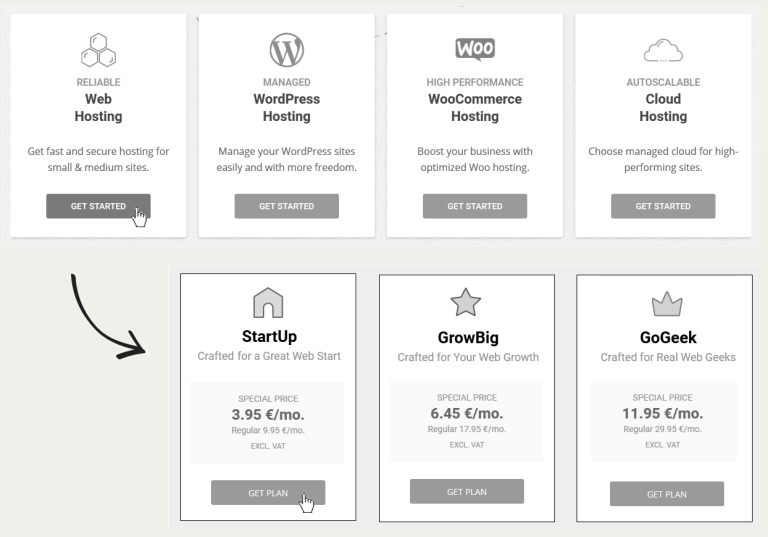
As with buying a domain name, you have lots of choices when selecting a web hosting provider. Here is one example:
Typically, web hosting providers offer a range of web hosting plans, some with WordPress included. In this example, you could choose Web Hosting and then select the Start Up option for €3.95 per month. This option includes an SSL certificate.
Follow the steps to purchase your chosen web hosting plan. Again, you will be asked to enter your contact details and choose a password. A confirmation email will be sent by the web hosting provider.
About your web hosting control panel (cPanel)
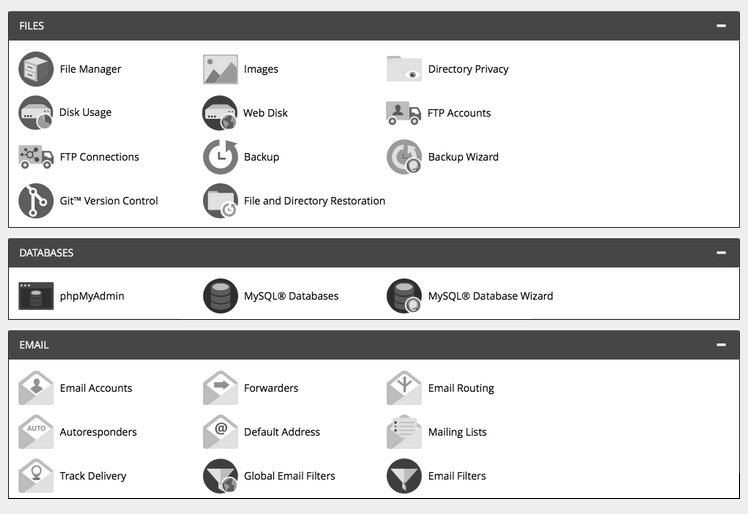
Using your email and password of your web hosting account, you will be able to sign in to view a control panel (usually called a cPanel) that gives you lots of options for managing your website. Typically, these options will include:
- The ability to upload files from your computer. (See Step 4 below.)
- The ability to set up and use custom email addresses. (For example, info@example.com.)
- The ability to create one or more databases.
A typical cPanel is shown below.
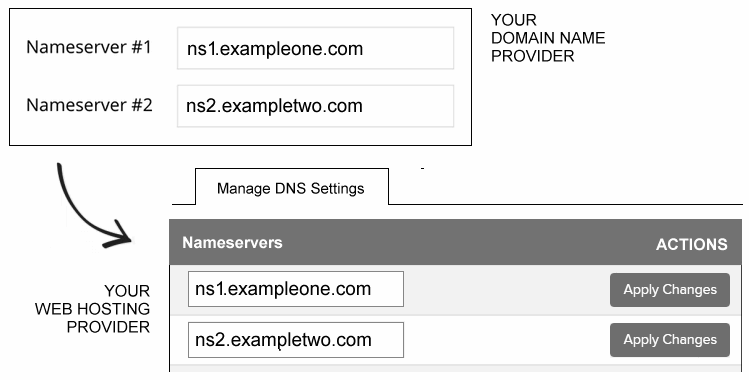
3: Point your domain to your web host
Among the details shown on cPanel will be the name of the two nameservers used by your web hosting provider. The first nameserver listed is the primary server, while the second is used as a backup if the first server is not responding. Typically, these two nameserver addresses will also be included in the confirmation email sent to you by your web hosting provider. Copy the two nameserver addresses. Here are two examples.
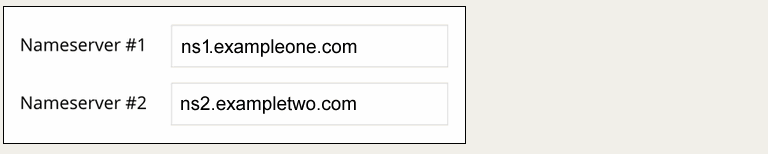
Next, go to the website of your domain name provider, and sign in with your email and password.
In the location provided, enter and submit the two nameserver addresses given to you by your web hosting provider.
How long does it take?
It can take from 1-24 hours for the link to be made between your domain name and your web host.
4: How to upload files to your website
Typically, the control panel of your web hosting account includes an option to transfer (upload or download) files between your computer and your website. These files might be web pages (.html files), stylesheet (.css files) and images (.jpg or .png files).
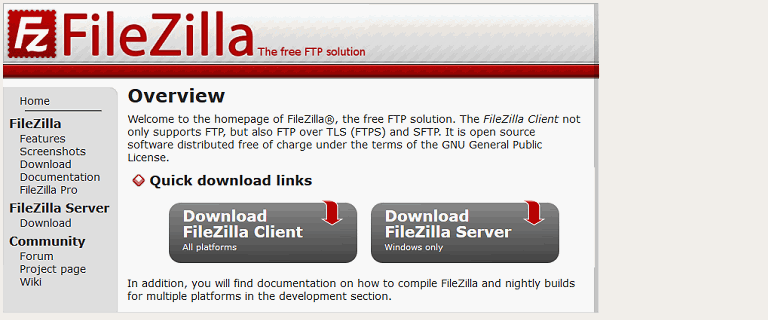
Another option is for transferring files is to use a software program called an FTP client. The three letters stand for File Transfer Protocol. A popular FTP client, with a free-to-use version for Windows, Mac and Linux, is FileZilla.
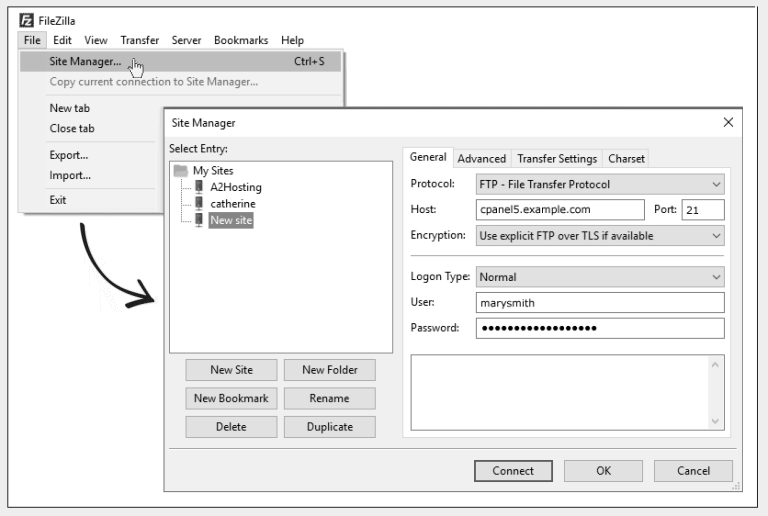
Setting up your connection details
FileZilla and other FTP clients allow you to store the connection details for your one or more web hosting accounts. As a result, you do not need to enter these details every time you want to upload/download files to/from your website.
Important Note
Commercial websites are included in this document as examples only. Mention of any one provider does not imply an endorsement or recommendation for the service sit offers.
As with any purchasing decision, intending consumers of domain names and web hosting services should research the market carefully and choose the services that best meet their requirements and budget.